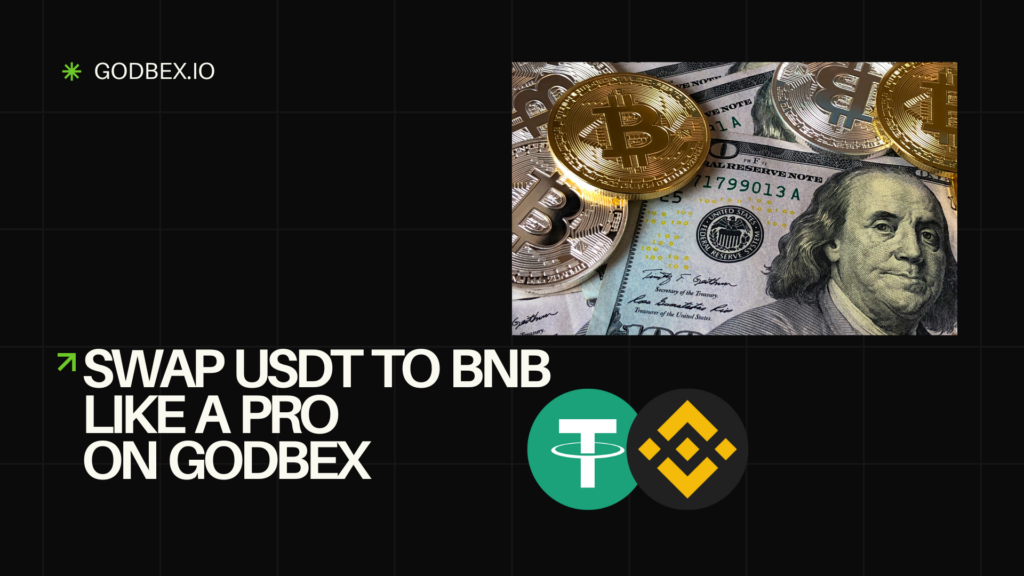
Swap USDT to BNB Like a Pro on Godbex
Introduction
Swapping USDT (Tether) to BNB (Binance Coin) is essential for users navigating the Binance Smart Chain (BSC) ecosystem. Whether you’re paying transaction fees, investing in BSC-based DeFi projects, or diversifying your crypto holdings, Godbex.io offers a fast, secure, and cost-effective solution. This guide walks you through swapping USDT to BNB seamlessly, explains why Godbex stands out, and answers common questions to ensure you master the process like a pro.
Why Swap USDT to BNB on Godbex?
Godbex.io is a decentralized exchange (DEX) aggregator designed to simplify cross-chain swaps. Here’s why it’s a top choice:
- Best Rates: Scan multiple DEXs (like PancakeSwap or 1inch) to find the lowest fees and highest liquidity for your swap.
- Multi-Chain Support: Swap USDT on Ethereum, BSC, or other networks to BNB (BEP20) effortlessly.
- Non-Custodial: Your funds stay in your wallet—no sign-ups, KYC, or third-party risks.
- Speed: Transactions settle in seconds on BSC’s high-speed network.
- User-Friendly: Intuitive interface with real-time rate tracking and clear instructions.
- Low Fees: Competitive 0.3%–0.5% platform fee plus minimal BSC gas costs.
Compared to centralized exchanges (e.g., Binance), Godbex eliminates withdrawal delays and offers direct wallet-to-wallet swaps.
Step-by-Step Process for Swapping USDT to BNB
Step 1: Prepare Your Wallet
- Ensure you have a BSC-compatible wallet (e.g., MetaMask, Trust Wallet, Binance Chain Wallet).
- Add the BSC network to your wallet if using MetaMask.
- Fund your wallet with USDT (ensure it’s on the same network as your target swap, e.g., BEP20-USDT for BNB).
Step 2: Visit Godbex.io
- Go to Godbex.io and click Connect Wallet.
- Select your wallet and approve the connection.
Step 3: Select Tokens
- Under “From”, choose USDT (confirm it’s BEP20-USDT for BSC).
- Under “To”, select BNB (Binance Coin).
Step 4: Enter Swap Amount
- Input the USDT amount you want to swap.
- Godbex displays the estimated BNB you’ll receive, including fees.
Step 5: Review and Confirm
- Double-check the network, amount, and recipient address.
- Click “Swap” and approve the transaction in your wallet. Pay the gas fee in BNB or USDT (varies by wallet).
Step 6: Receive BNB
- Once confirmed, BNB will appear in your wallet within seconds.
- Track the transaction via the provided TXN hash on BscScan.
Final Recommendations
- Verify Networks: Ensure USDT is on BSC (BEP20) to avoid failed swaps.
- Check Gas Fees: Gas costs fluctuate—swap during low-traffic periods to save.
- Test First: Swap a small amount (e.g., $10) to confirm the process.
- Bookmark Godbex: Avoid phishing sites by saving the official URL.
- Secure Your Wallet: Use hardware wallets like Ledger for large holdings.
FAQ
Q1: How long does a USDT to BNB swap take?
On BSC, swaps typically complete in 5–15 seconds. Delays may occur if the network is congested.
Q2: What’s the minimum USDT I can swap?
Godbex allows swaps as low as $1. However, very small amounts may be impractical due to gas fees.
Q3: Are there fees besides Godbex’s 0.3%–0.5%?
Yes—you’ll pay BSC gas fees (in BNB), which vary based on network demand.
Q4: Can I swap BNB back to USDT on Godbex?
Absolutely! Reverse the process: select BNB under “From” and USDT under “To”.
Q5: Which wallets support BNB?
Popular options include Trust Wallet, MetaMask (with BSC configured), and Binance Chain Wallet.
Q6: What if my transaction fails?
Failed swaps are rare but possible if gas fees are too low. Retry with a higher gas limit or wait for lower network congestion.
Q7: Is Godbex.io safe?
Yes—it’s non-custodial and audited. Always confirm you’re on the correct website to avoid scams.